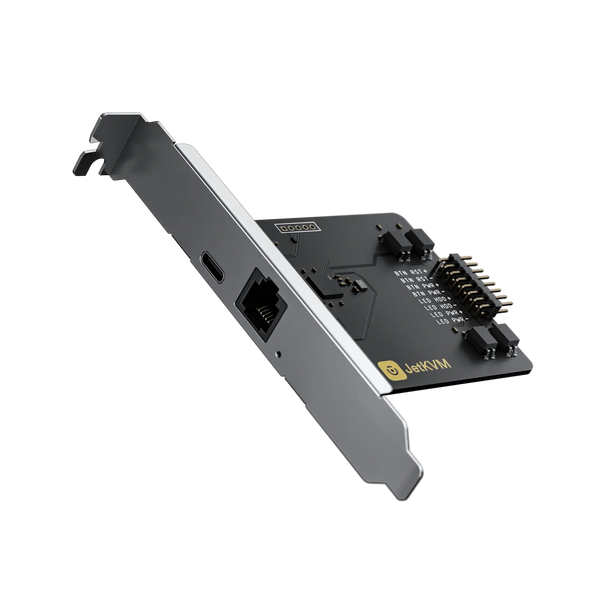
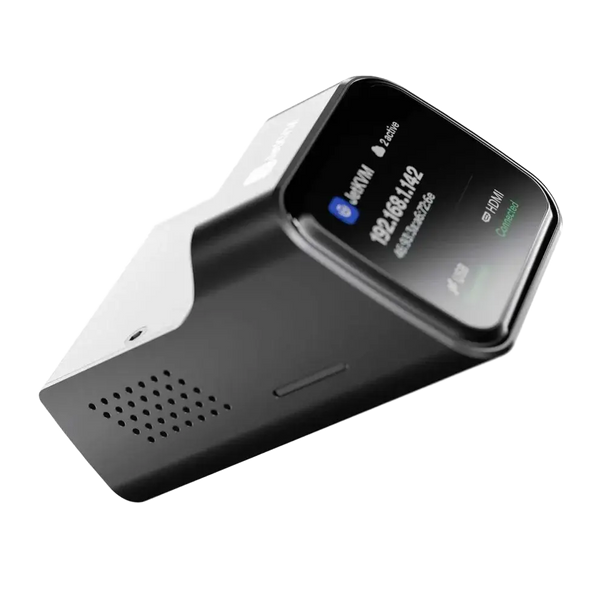
JetKVM
DC Power Control Extension
Couldn't load pickup availability


JetKVM DC Power Control
Keep JetKVM powered even when the controlled device is off. The DC Power Control extension provides independent power delivery to both JetKVM and your target device, enabling true remote power cycling — even when the target is completely shut down.
View on GitHubWhy Do You Need DC Power Control?
Standard KVM setups lose power when the host machine shuts down — if the USB port stops supplying power, JetKVM goes offline too. The DC Power Control extension solves this by supplying independent power to JetKVM while also enabling remote power switching for the target device. Power on, power off, or reboot your machine even when it's completely powered down.
Independent Power Supply
Provides stable power to JetKVM even when the controlled device is shut down. No more lost connections during maintenance or unexpected power loss.
Remote Power Cycling
Remotely power on or shut down the controlled device through the JetKVM web interface.
Dual-Role Design
The DC Power Control board simultaneously powers JetKVM (via the expansion port) and the target device (via DC OUT). One accessory, two critical functions.
📦 What's in the Box
📋 How to Set Up DC Power Control
Setting up DC Power Control is straightforward. Follow these three connection steps, then activate it in the JetKVM web interface.
Connect Power In
Plug a 12V or 19V DC power adapter into the DC IN port on the DC Power Control board.
Connect to Target
Connect the DC OUT port to your controlled device's DC power input (e.g. mini PC, NAS, router).
Connect to JetKVM
Use the included cable to connect the TO JETKVM expansion port on the DC board to the expansion port on your JetKVM device (5-pin connector on newer units, RJ11/RJ12 on earlier versions).
Open the JetKVM web management interface. Navigate to Extension and load the DC Power Control. The extension will appear in your dashboard for remote power switching.
Without DC Power Control
Target device shuts down → USB power lost → JetKVM goes offline → no remote access possible until someone physically restarts the host.
With DC Power Control
Target device shuts down → JetKVM stays powered via DC IN → remotely power on the target through DC OUT → full remote access restored.
🛠 Troubleshooting Guide
If the DC Power Control board isn't working as expected, follow these steps to diagnose and resolve issues.
🔍 Enable Developer Mode & Check Logs
First, enable developer mode in JetKVM settings. Then SSH into your JetKVM device and examine the system logs for DC Power Control related errors. Log output will provide the clearest diagnosis of what's going wrong.
📡 Check Cable Connections
Ensure the cable between the DC board and JetKVM expansion port is fully seated on both ends. Loose connections can cause the extension to not be detected. If using an older JetKVM with an RJ11/RJ12 port, verify the connector type matches.
⚡ Verify Power Adapter
Confirm your DC power adapter outputs the correct voltage (12V or 19V) and provides sufficient current. A weak or incompatible adapter may fail to power the board and JetKVM reliably.
🔄 Firmware Update (INA700 Chip)
Important: A small recent batch of DC Power Control boards uses the INA700 chip. These boards may exhibit functional anomalies and require a firmware update to operate correctly. Follow the firmware update steps below.
🖧 How to Update Firmware
The DC Power Control board uses the same RP2040 microcontroller as the ATX board, with simple UF2 drag-and-drop firmware updates. This is required if you have a board with the INA700 chip.
Press and hold the BOOT button on the DC Power Control board.
While holding BOOT, connect the board to your computer via USB-C.
Release the button. A drive named RPI-RP2 will appear.
Drop jetkvm-dc.uf2 onto RPI-RP2. The board reboots automatically.
📥 Download the Latest Firmware
Download jetkvm-dc.uf2 ↓Direct download link — latest firmware for DC Power Control board.
Who Needs DC Power Control?
If your setup involves USB-powered KVM scenarios or remote power cycling requirements, this accessory is essential.
Mini PC & NUC Owners
Many mini PCs and NUCs shut off USB power when powered down. DC Power Control keeps JetKVM alive and gives you remote power switching for the device.
Remote Server Management
Power cycle servers in remote locations or colocation facilities without a site visit. Full remote control even when the OS is unresponsive.
Edge & IoT Deployments
Manage edge computing devices, routers, or IoT gateways deployed in the field. Reboot remotely without physical access.
Open Source & Community Driven
Like all JetKVM accessories, the DC Power Control board is built on open source principles. The firmware, hardware designs, and software integrations are all available on GitHub for contribution and customization.
Input Voltage
Microcontroller
Drag & Drop Flash
| Voltage | 9–20V DC, Max. 5A |
| Barrel Polarity | Center Positive |
| Frequency | 50–60 Hz, Single Phase |
| Operating Temperature | 10–35°C (50–95°F) |
| Storage Temperature | 0–47°C (32–116°F) |
| Relative Humidity | 5–90% RH, Non-Condensing |
- 1 ×DC Extension
- 1 × RJ12 cable
- 1 × 5 Pin Cable
- 1 × 5.5/2.5 mm male to 5.5/2.5 mm male cable