JetKVM
ATX Extension Board
Couldn't load pickup availability


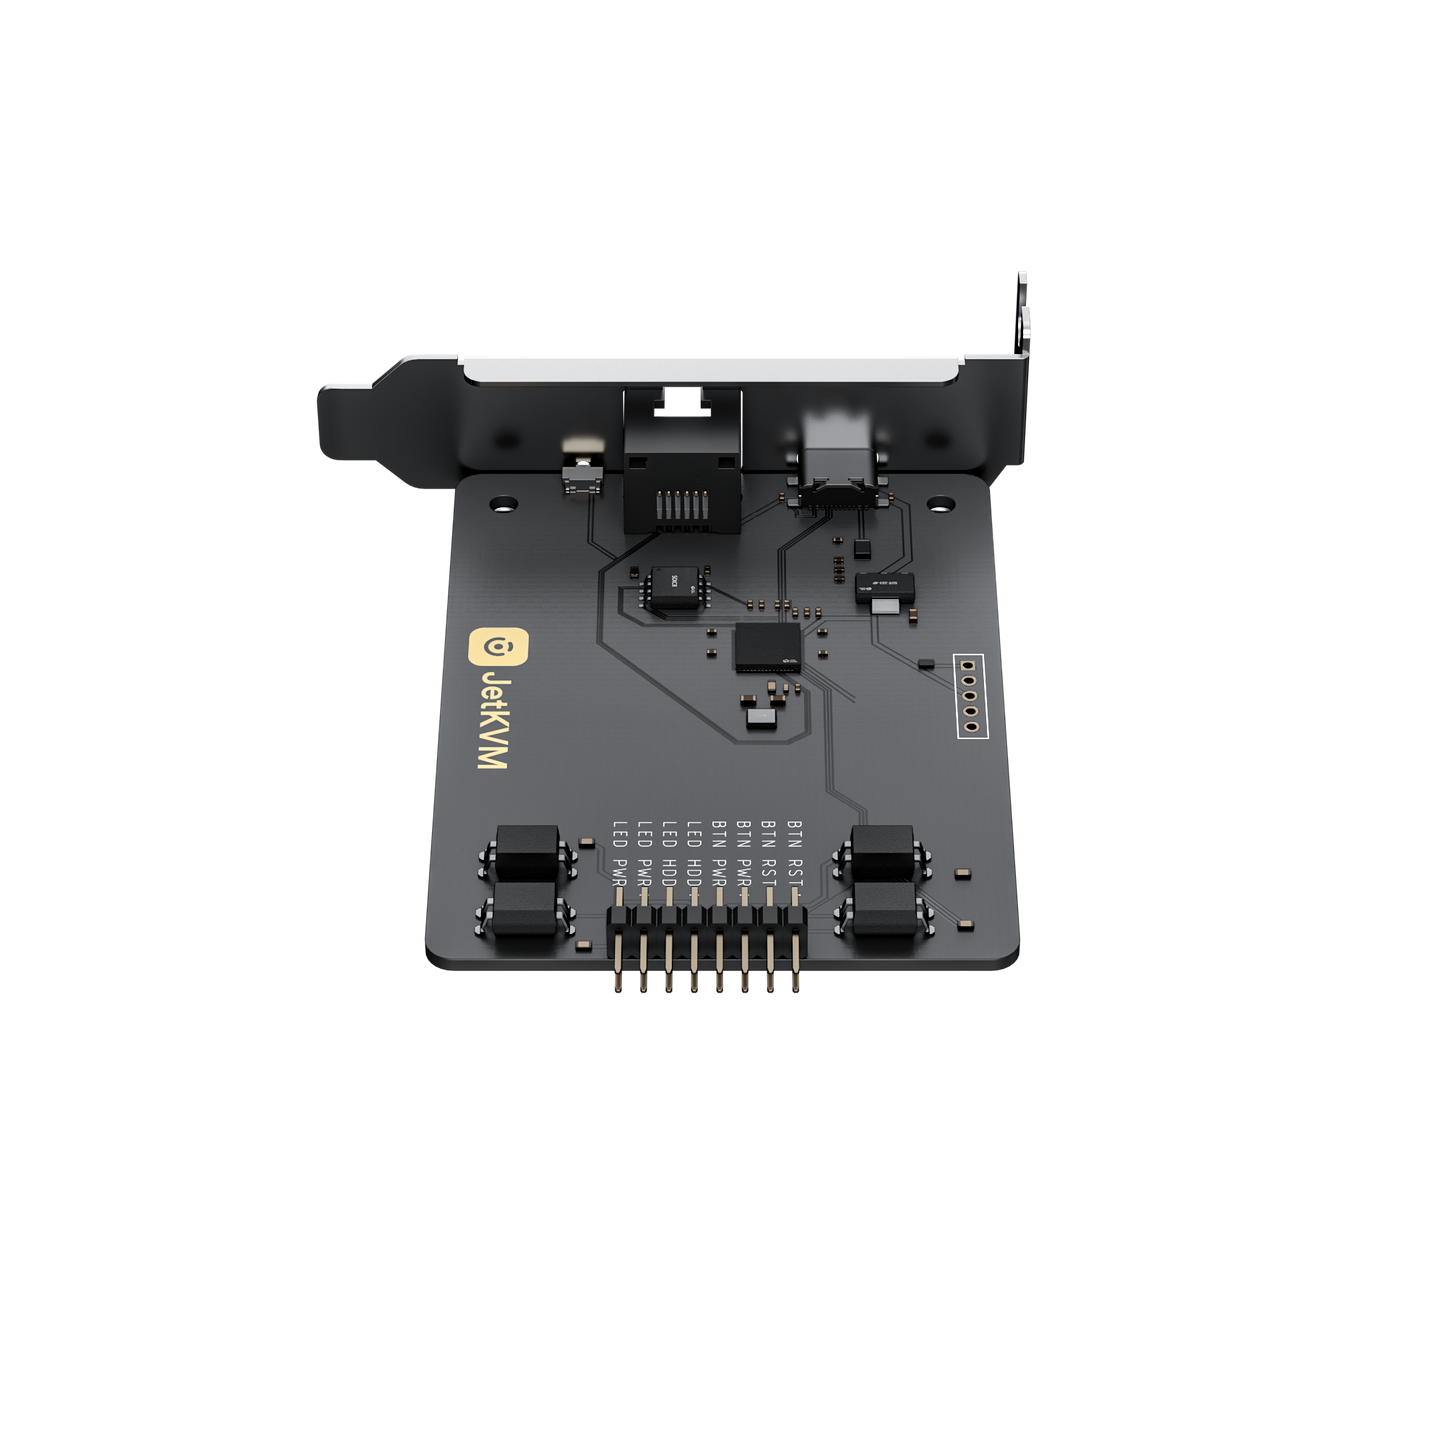
JetKVM ATX Extension Board
Add remote power control to any desktop PC. The ATX Extension Board sits between your motherboard's F_PANEL header and chassis buttons, giving you full remote control over power on/off, reset, and status monitoring — without replacing your hardware.
View on GitHubWhat Is the ATX Extension Board?
The ATX Extension Board acts as a smart bridge between your motherboard's front panel header and your PC case buttons. It captures power/reset button presses and LED status signals, enabling JetKVM to remotely power on, power off, reset, and monitor the status of any desktop computer.
Remote Power Control
Remotely power on, power off, or reset your desktop PC through the JetKVM web interface. No need to physically press the chassis buttons.
Real-Time Status Monitoring
See power LED and HDD activity status directly in the JetKVM dashboard. Know at a glance whether your machine is running, sleeping, or accessing disk.
Pass-Through Design
All signals pass through transparently — your chassis power button, reset button, and LED indicators continue to work exactly as before. No functional loss, no compromises.
📦 What's in the Box
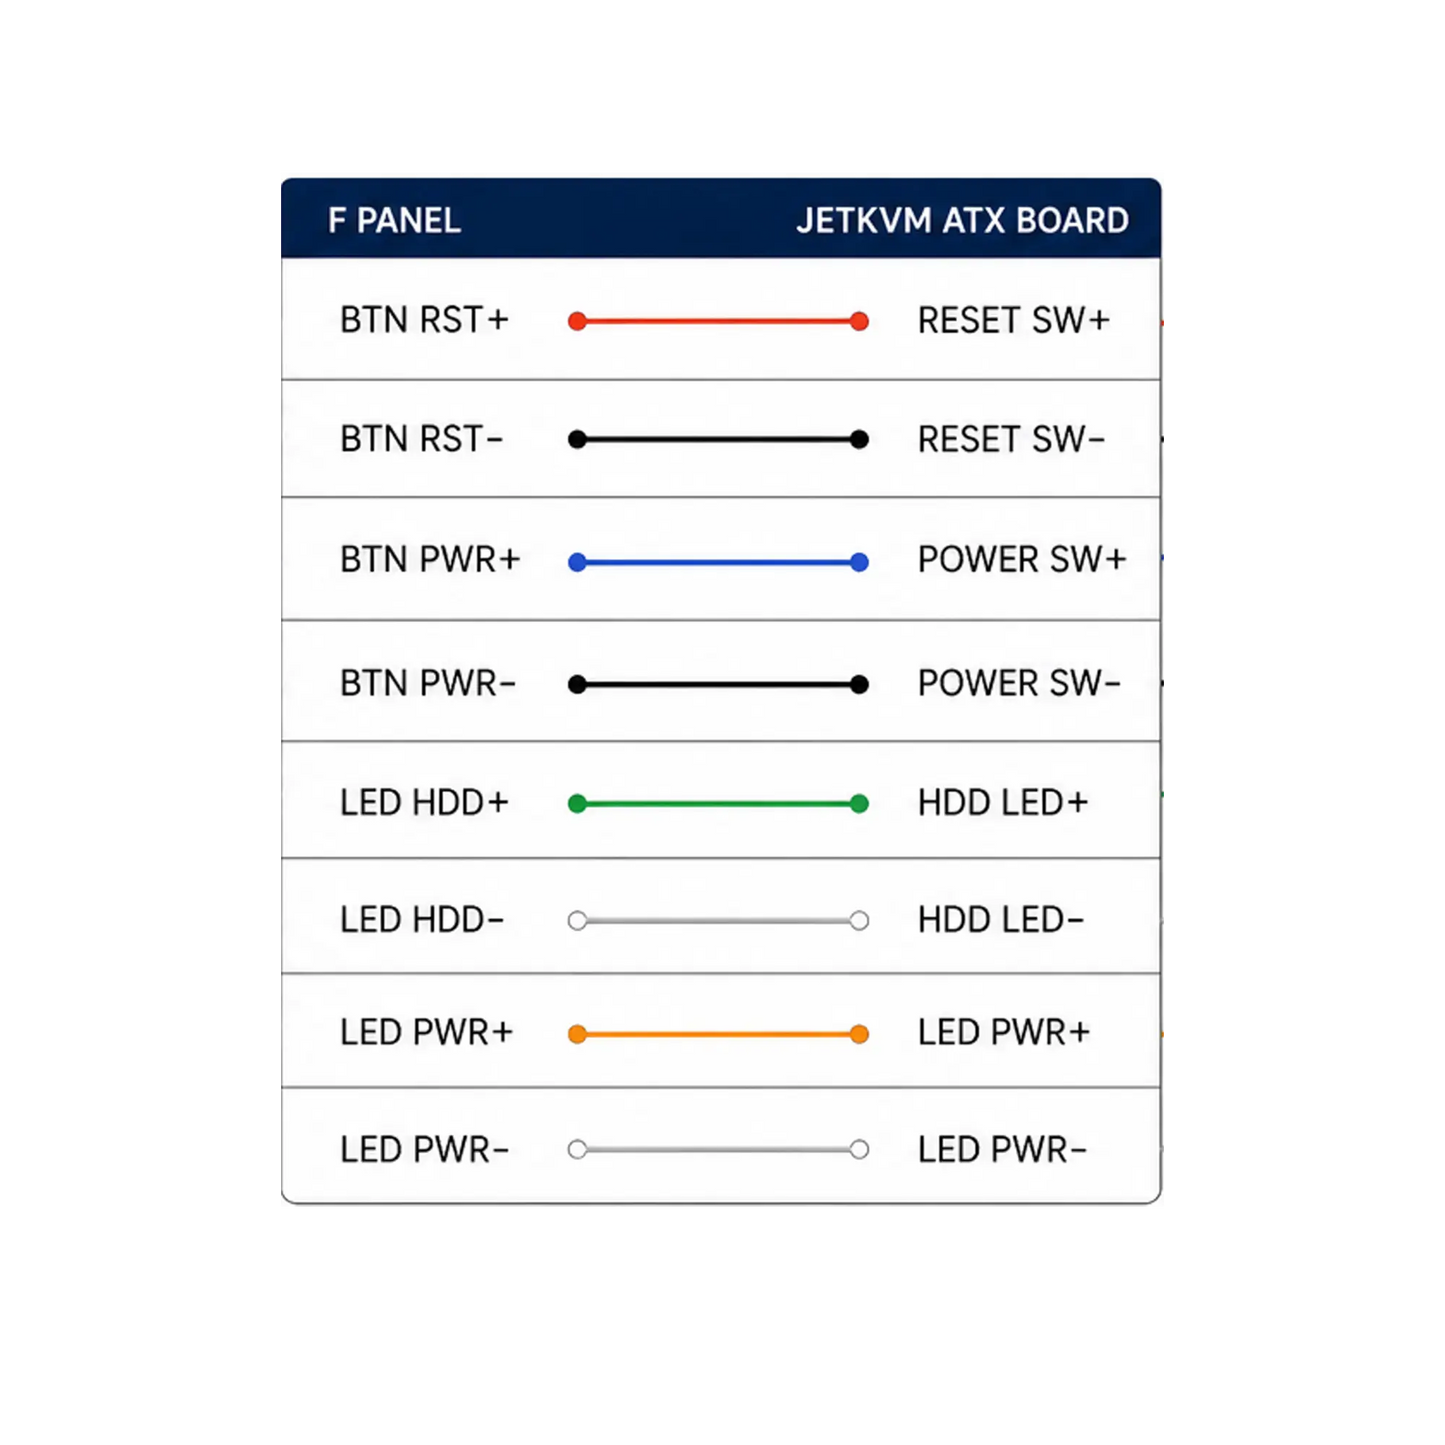
📋 Wiring Guide: F_PANEL to ATX Board
Connect your motherboard's front panel header to the ATX Extension Board using the included 10-pin ribbon cable. The pin mapping is straightforward:
| No. | F_PANEL Signal | JETKVM ATX BOARD Signal | |
|---|---|---|---|
| 1 | BTN RST+ | ↔ | RESET SW+ |
| 2 | BTN RST− | ↔ | RESET SW− |
| 3 | BTN PWR+ | ↔ | POWER SW+ |
| 4 | BTN PWR− | ↔ | POWER SW− |
| 5 | LED HDD+ | ↔ | HDD LED+ |
| 6 | LED HDD− | ↔ | HDD LED− |
| 7 | LED PWR+ | ↔ | POWER LED+ |
| 8 | LED PWR− | ↔ | POWER LED− |
Motherboard F_PANEL
Standard 2×5-pin front panel header found on virtually all desktop motherboards.
Complete Pass-Through
Chassis power/reset buttons and LED indicators remain fully functional. The ATX board simply taps into the signals.
🛠 Troubleshooting Guide
If something isn't working as expected, follow these steps to diagnose and resolve common issues.
✏ Check Wiring Order
Incorrect wiring order is the most common cause of issues. Verify each pin against the mapping table above. Some signals have polarity requirements — reversing + and − may cause the signal to not work or work incorrectly.
🔄 Update Firmware
Always ensure you are running the latest firmware. The ATX board uses an RP2040 microcontroller — updating firmware is simple via USB drag-and-drop (see steps below).
📺 Check JetKVM Status
In the JetKVM web interface, verify that the ATX Extension Board is detected. Look for ATX status indicators in the dashboard. If missing, try reconnecting the ribbon cable.
🔄 Ribbon Cable Seating
Ensure the ribbon cable is fully seated on both ends. A loose connection can cause intermittent or total signal loss. Disconnect and reconnect firmly to confirm.
🖧 How to Update Firmware
The ATX Extension Board is powered by an RP2040 microcontroller with simple UF2 drag-and-drop firmware updates. No special tools or software required.
Press and hold the BOOT button on the ATX Extension Board.
While holding BOOT, connect the board to your computer via USB-C.
Release the button. A drive named RPI-RP2 will appear.
Drop jetkvm-dc.uf2 onto RPI-RP2. The board reboots automatically.
📥 Download the Latest Firmware
Download from GitHub →Look for the jetkvm-dc.uf2 file in the latest release.
Who Needs the ATX Extension Board?
If you manage desktop computers remotely, this board turns JetKVM into a complete remote management solution.
Home Lab Operators
Remotely reboot your Proxmox nodes, NAS, or homelab servers when they become unresponsive — no need to walk to the basement.
IT Administrators
Manage remote workstations and office PCs. Power cycle hung machines, perform maintenance reboots, and monitor power status.
Test Lab Engineers
Automate power cycling of test benches and CI/CD worker machines. Integrate with scripts for unattended testing workflows.
Fully Open Source Hardware & Firmware
The ATX Extension Board design files and firmware are fully open source. Built around the Raspberry Pi RP2040 microcontroller. Customize, contribute, or audit the code on GitHub.
Microcontroller
Hardware Design
Drag & Drop Flash
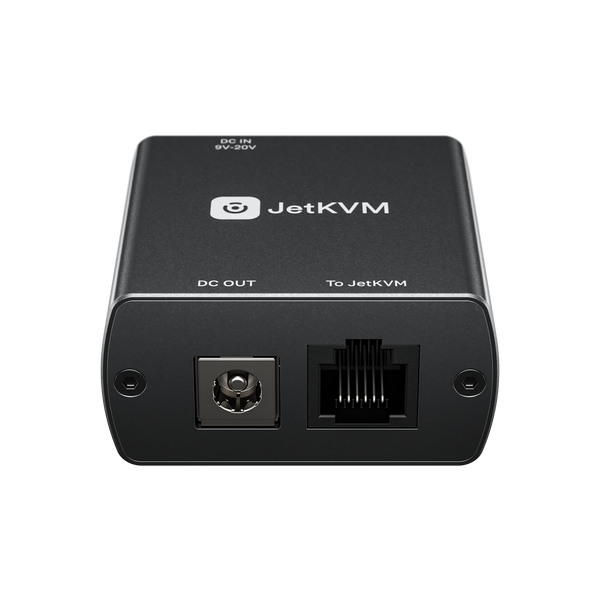
- 1 × ATX Power Control Board
- 1 × RJ12 cable
- 1 × PCIe slot cover bracket
- 1 × Small PCIe slot cover bracket
- 1 × Pin headers
- 1 × 5 Pin Cable