



JetKVM Mini: Wired KVM over IP in a Matchbox
A matchbox-sized, open-source KVM over IP with a wired Ethernet port. 1080p video capture, keyboard and mouse over USB, and the same web interface, cloud and updates as JetKVM — from $33.
Why Do You Need JetKVM Mini?
Traditional remote management needs expensive hardware, complicated network setup or agents on every machine. JetKVM Mini plugs into the HDMI and USB of the computer and gives you BIOS-level access from any browser — in a case the size of a matchbox.
Remote BIOS-Level Access
See the screen, keyboard and mouse remotely even when the OS is unavailable or the machine is stuck during boot. Fix BIOS settings, troubleshoot panics or reinstall an OS from anywhere.
No Software Installation Needed
JetKVM Mini works at the hardware level. No agents or drivers on the target machine, and it works with Windows, macOS, Linux and BSD.
1080p over WebRTC
Video is captured at 1080p at 30 fps (720p at 60 fps), encoded in hardware on the ESP32-P4X and streamed straight to your browser.
Key Benefits

Front view

Angled view

Rear view — RJ45, HDMI, 2 × USB-C

BIOS-level access in the browser
How to Use JetKVM Mini
1. Setup & Power (Wired)
Wired setup is the same as on every JetKVM: plug in Ethernet, video and USB, read the address on the display, and open it in a browser.
Ethernet, HDMI and USB
Connect Ethernet to the RJ45 port, HDMI to the target computer’s video output, and the target USB port to the computer. Power comes from that USB connection.
Read the IP on the Display
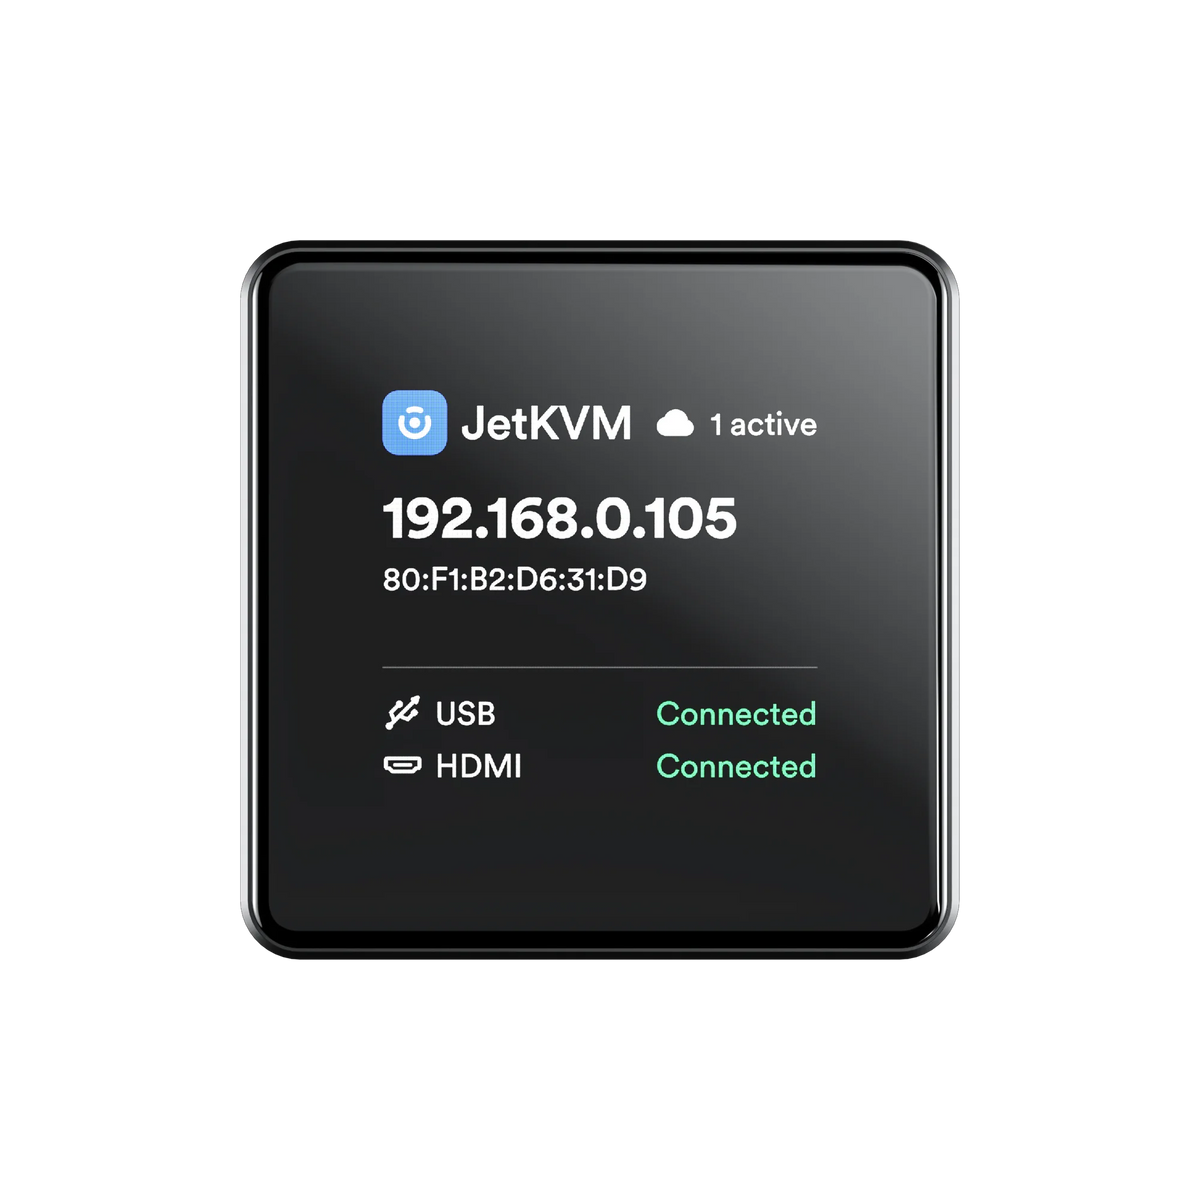
The status display on top shows the IP address, USB and video status. Type that address into any browser to open the interface.
Virtual Media from a TF Card
Drop an ISO onto a TF card in the slot on the side and mount it as a virtual USB drive for installs and recovery.
Second USB Port
A general-purpose USB 2.0 port for extensions, or as backup / external power with an external supply.
2. How to Use JetKVM Cloud Access
JetKVM Cloud allows you to securely access your device from anywhere on the internet. All communication uses WebRTC with end-to-end encryption via DTLS and SRTP, and a Zero Trust security model ensures only authorized users gain access.
Open your browser and go to the local IP address shown on the JetKVM Mini display.
Click Settings in the action bar, scroll down and click Enable Remote Access.
Log in with your Google account (OIDC provider). The device itself verifies the request.
You are redirected to the JetKVM cloud dashboard. Manage the Mini securely from any browser, anywhere.
3. How to Update to the Latest Firmware
JetKVM Mini runs open-source firmware, rewritten for the ESP32-P4X and open from day one. Updates install over the air with automatic rollback, so a failed update does not leave you locked out. New releases add features such as MQTT and Home Assistant integration, OIDC login and secure boot.
Open the JetKVM Mini web management interface.
Go to General > Check for Update.
Click “Check for Updates.”
Confirm and wait for restart. Do not disconnect power.
4. How to Mount Virtual Media
JetKVM Mini presents an ISO on a TF card to the target computer as if it were a USB drive. That is how you reinstall an OS or run recovery tools without walking over with a USB stick.
Load an ISO onto a TF card and insert it into the slot on the side of the Mini.
Open the JetKVM Mini web interface in your browser.
Choose the ISO and mount it as virtual media. It appears to the target as a USB drive.
Reboot the target and boot from the virtual drive — no USB stick required.
Who Is JetKVM Mini For?
From a single home server to a rack of machines, one Mini per computer is affordable enough to cover everything.
IT Professionals
Manage servers and workstations remotely without site visits. Reduce MTTR and keep infrastructure running.
Home Lab Enthusiasts
Control your cluster, NAS or experimental hardware from anywhere. Perfect for Proxmox, TrueNAS and pfSense.
Software Developers
Debug boot issues, flash firmware or manage headless CI/CD build nodes remotely.
Fully Open Source & Customizable
JetKVM Mini runs open-source firmware, rewritten for the ESP32-P4X and open from day one. It speaks the same protocols as JetKVM, so the same web interface, cloud, extensions and update system carry over unchanged.
GitHub Stars
H.264 Capture
With OS Services


